Pages

Freitag, 14. März 2014

How to make Banana Bread

Eingestellt von nanaliciouz um 03:35 0 Kommentare

Since I live alone, I get bored very quickly. Just procrastinating and being unproductive all day long. That's why I spent more time at my parents home and stayed there the last two weeks.
When I got back home, my kitchen had an intensive smell of bananas and after a sec I knew why. There were overripe bananas in my fruit bowl! Geez ... I rarely have fresh fruits at home, so I totally forgot them! -_- Fortunately it's still too cold for fruit flies! xD
I didn't want to throw them away because I hate wasting food and they also had this nice sweet smell. So what to do? Turn them into banana bread - what else! Banana bread has been on my TO-DO list for longer and now it was the perfect time to give it a try! Here we go:


Banana Bread (makes 1 loaf, approx. 12 servings)
adapted from allrecipes.de

  • 250g all-purpose flour
  • 100g almonds, chopped
  • 1 tsp baking soda
  • 1 pinch of salt
  • 115g butter, unsalted
  • 85g brown sugar
  • 2 eggs, beaten
  • 4 midsize bananas, overripe and mashed

Preparation:
1. Preheat oven to 175°C. Lightly grease a 9x5 inch loaf pan or line with a baking paper.

2. In a large bowl, combine flour, chopped almonds, baking soda and salt. In a separate bowl, cream together butter and brown sugar. Gradually stir in eggs and mashed bananas until well blended. Stir banana mixture into flour mixture; stir just to moisten. Pour batter into prepared loaf pan. 

3. Bake in preheated oven for 60 to 65 minutes, until a toothpick inserted into center of the loaf comes out clean. Let bread cool in pan for 10 minutes, then turn out onto a wire rack.


You can clearly see and taste the chopped almonds in it. So good! If you don't like almonds, of course you can replace them with walnuts, hazelnuts or whatever you like. :)

I like to have my banana bread with strawberry jam. Nothing's better - not even with Nutella! Even my Minion cannot resist. :P

Hope you like this recipe as much as I do. Have fun baking - Good luck! :)


Montag, 24. Februar 2014

Yeah, science!

Eingestellt von nanaliciouz um 16:39 0 Kommentare
Hi guys!

I've just worked with Windows Live Movie Maker for the first time to make a short stop motion movie for my biology studies. Never thought it's so easy (well, there were still some difficulties, however ;D). For this project I had to do some drawings and I haven't drawn anything for a long time. Also I've nearly forgotten how much fun it is! So I hope you will enjoy the animation!
 
Bye! ^_^


Dienstag, 11. Februar 2014

Valentine's Day: Hot Chocolate on Stick with Marshmallow Heart

Eingestellt von nanaliciouz um 07:58 0 Kommentare

My Hon and me, we've been together for more than 6 years now. Every year we have managed to ignore the hype about the Valentine's Day and all the lovey-dovey couples. Indeed we've always spent the day together but never made something special. For us it's a day like every other day - but not this year ...

Two weeks ago he moved to Munich for a new job and for the first time we will be spatially apart from each other on Valentine's Day. Suddenly that day becomes important to me. Ain't that silly?

This is why I ended up with these bunch of homemade Hot Chocolate on Stick. Oh boy, there will be one lucky guy on 14th February! ^_^

It was my very first time making treats for Valentine's Day and it was so much fun that I have to share with you guys - so let's get started!


Required kitchenware:
  • cutting board
  • sharp paring knife
  • sharp kitchen knife
  • microwave-safe bowl
  • spatula
  • big ice cube tray (cube size approx. 3x3cm. I got mine from ebay.de)
  • skewer
  • 15 lollipop sticks


What you need to garnish your Hot Chocolate Sticks:
  • marshmallow hearts
I got mine from a local BUTLERS store for 1,99€ a bag. Don't they just look lovely? Almost too lovely to eat!


Hot Chocolate on Stick with Marshmallow Heart (makes 15 sticks)
  • 450g chocolate of your choice; here I used milk, white and dark couverture chocolate, each bar 150g
  • 1 vanilla bean
  • 15 marshmallow hearts

Preparation:
1. On the cutting board cut the vanilla bean in halve, length wise with your sharp paring knife. Scrape out all of the oily seeds from the inside and put them into the bowl.

2. With your sharp kitchen knife chop the chocolate coarsely and add to the bowl with the vanilla seeds.

3. Put the bowl into the microwave and melt the chocolate on low power setting in short intervals (about 30sec.) and stir between each bout of heat until it is completely melted.

4. Pour melted chocolate into the silicone ice cube tray. Use the spatula for help.

5. Refrigerate 30min.

6. Meanwhile, use your skewers to carefully poke a hole through the marshmallow hearts. Then carefully insert a lollipop stick through each heart. Try not to squeeze them too much.

7. After 30min. poke the lollipop sticks into the center of each chocolate cube.

8. Refrigerate an hour then pop the chocolate cubes out of the mold.

9. Wrap stick in plastic wrap or small cellophane bags, tie a ribbon around and they are ready to give away.

10. Keep sticks refrigerated until ready to use.


How to use:
Heat up one cup of milk (approx. 200ml) and add a Hot Chocolate stick. Stir until chocolate has dissolved completely.
Enjoy your cup of Happiness!

Montag, 20. Januar 2014

New year - new projects!

Eingestellt von nanaliciouz um 14:36 0 Kommentare

Happy New Year everyone! Hope you had a great start into 2014! What's your New Year's resolutions? One of mine is to blog regularly. Actually I am really lazy about writing what is not paticularly advantageous for a blogger. *sigh* But I will do my best.

This year will bring a lot of new projects and adventures. Yet I am working on a new free pattern for you guys and I am sure you will like it! If I have enough time among my exam preparation, I will write a step-by-step pattern.

To stay updated follow me on Instagram if you haven't yet! See you soon!

Love, Nana


P.S. I used MomentCam to cartoon myself. A really fun app - check it out! :D

Samstag, 9. November 2013

Free pattern: the innocent big knit Pacman ghost hats

Eingestellt von nanaliciouz um 05:39 3 Kommentare

Earlier this year I spotted the super delicious innocent smoothies in our supermarket and I bought one bottle of each flavor. We rarely have fruits at home because of the disgusting fruit flies. These smoothies are the best solution. They last longer than fresh fruits plus thereby I avoid fruit flies in my kitchen. ^_^ v
Since then they are my daily vitamin bombs. Mangoes & passionfruits and Strawberries & bananas are my favorites. They are so yummy and healthy!

But they are not only good for you, they also help charities. Maybe some of you already have heard about "The Big Knit", (German: "Das große Stricken"). It is a yearly campaign since three years which raised money to help the elderly stay warm and healthy over the cold winter months. For every behatted bottle of smoothie sold, innocent donate an amount of money to charities. In Germany the donation will go to the German Red Cross.

This is just a great cause - I absolutely must join! However, since I do not know how to knit, I crochet tiny little hats instead. These hats won't only help the elderly, but can also be used as egg cosies later! So grab your yarn and hook and make the world a little bit better!

Here is my free pattern for all the
hard-working helpers out there: 


Materials:
  • yarn: pink for Pinky, red for Blinky, blue for Inky and orange for Clyde (I used Wolle Rödel Mille Fili Color-No. rosa 5910, rot 5902, pfefferminz 5918 and orange 5961)
  • 3.50 mm crochet hook
  • small amount of white and black felt
  • fabric glue
  • wool or tapestry needle
  • optional: stitch marker (you can use a bobby pin as a stitch marker, too!)

Stitch explanations and abbreviations:
ch chain dc double crochet
sc single crochet tr treble stitch
st stitch foll following
sl st slip stitch rem remain(s)(ing)
inc sc 2 in 1 sc rnd round 
dec sc 2 stitches togehter rep* repeat from
hdc half double crochet (X sc) number of single crochet in a round


Instruction for Pacman ghosts: Work in continuous rounds.
Beg: Begin with your favorite color. Start with a magic ring, ch 1.
Rnd 1: Work 6 sc in magic ring. Place stitch marker in first sc from beg of rnd, move marker up as each rnd is completed. (6 sc)
Rnd 2: Inc in each 6 sc around. (12 sc)
Rnd 3: Work *1 sc in next sc, then inc. Rep from *5 more times around. (18 sc)
Rnd 4: Work *2 sc in next sc, then inc. Rep from *5 more times around. (24 sc)
Rnd 5: Work *3 sc in next sc, then inc. Rep from *5 more times around. (30 sc)
Rnd 6-13: Work 1 sc in each 30 sc around. (30 sc)
Rnd 14: Work *1 sc in next sc, 1 hdc, [1 dc, 2 tr, 1 dc] in next stitch, 1 hdc, then 1 sc in next sc. Rep from *5 more times around. (48 sc)
End: Fasten off.


Finishing
1. Cut eyes and pupils out of white and black felt and glue them together.
2. Place eyes under round 6 two stitches apart and glue them on.


***This is an original pattern by ©nanaliciouz.com, 2013. All rights reserved. Please do not claim this pattern as your own. You may not in any form distribute or reproduce this pattern including images. You may keep a copy for your personal use only. Do not sell pattern and/or finished products made from this pattern without first obtaining permission from me.***

Montag, 17. Juni 2013

Oh my! So amiliciouzzz ~ !

Eingestellt von nanaliciouz um 17:44 0 Kommentare
If you follow me on Instagram you may have noticed that my last crochet posts all show amigurumi food.

In the last 2-3 months I didn't have much time for larger projects, but in my spare time I still wanted to crochet. I looked on Ravelry for small projects and I've found a handful of great free patterns. I saved them as favorites and later it turned out that I only picked out amigurumi food. :P

So my amigurumi clementine, which I made for Chinese New Year, got some buddies. They were so easy and quick to make! I really enjoy the results you get from following these patterns without spending much time and effort. Thanks to the designers for sharing them! :)


Now, here are my handmades:


Banana

Pattern by Barbara Strasser
(available as a free Ravelry download)

http://www.ravelry.com/patterns/library/amigurumi-banana

Cheeseburger

Pattern by Emjay Bailey

http://nerdigurumi.com/2011/03/amigurumi-no-sew-hamburger-or-cheeseburger.html


Hanami Dango

Pattern by me

http://nanaliciouz.blogspot.de/2013/05/free-pattern-hanami-dango-amigurumi.html


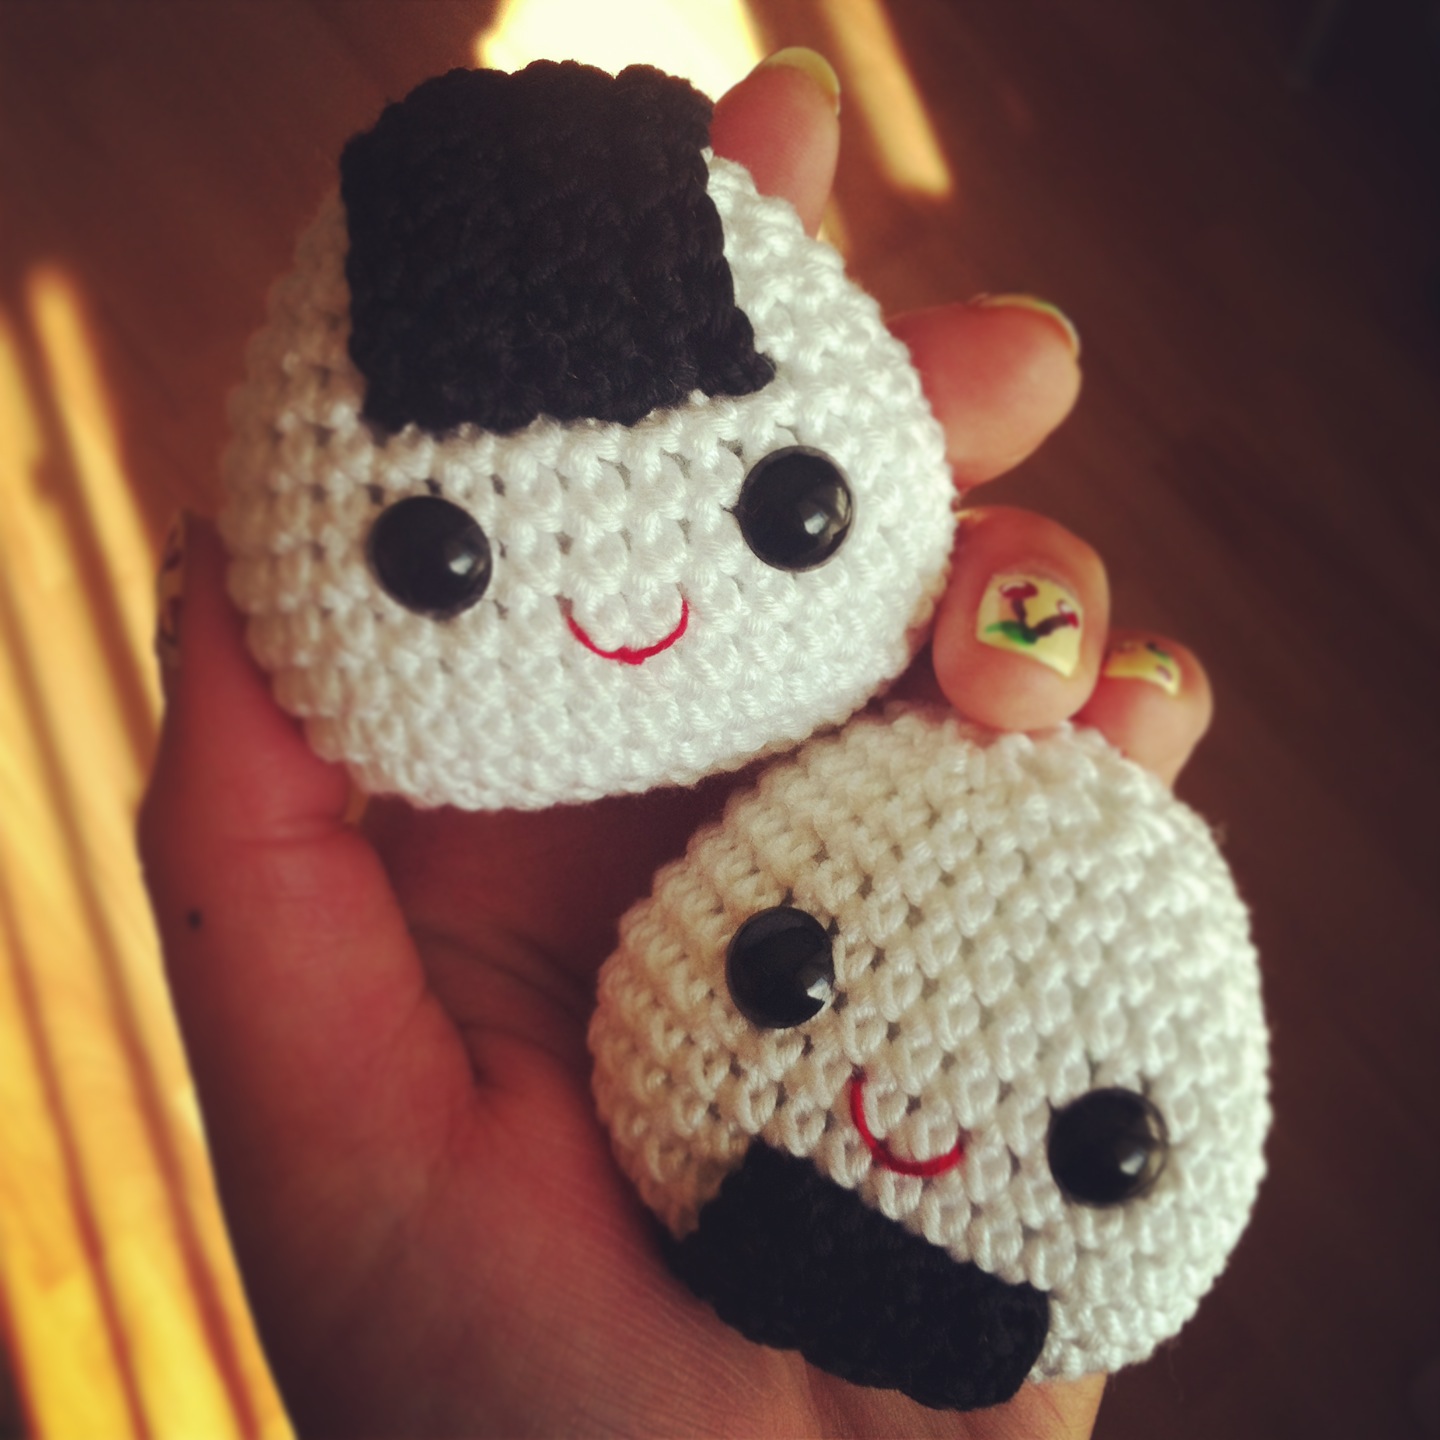
Onigiri

Pattern by Jenny Lloyd

http://www.ravelry.com/patterns/library/onigiri-couple-amigurumi-crochet-pattern


Clementine

Pattern by me

http://nanaliciouz.blogspot.de/2013/02/free-chinese-new-year-pattern.html


Little Empanada

Pattern by Deena White
(available as a free Ravelry download)

http://www.ravelry.com/patterns/library/little-empanada


Dienstag, 7. Mai 2013

Free pattern: Hanami Dango Amigurumi

Eingestellt von nanaliciouz um 16:10 0 Kommentare

Spring is here! How long have we been waiting for these longer days and longed for the heat-giving rays of the sun? The birds are back from the south and they already start twitterpating. Flowers are awakening from their winter sleep and stretching their heads skyward. Everything comes back to life, so as the beautiful cherry blossoms.

At this time Hanamis take place again in Japan. You meet up with friends for picnics and there are so much delicious food to share. And of course
Hanami Dangos should not be missed! These cute little dumplings made from machiko are eaten up quickly and that's why I have something special for you guys: here's a crocheted version of it - it'll be a nice present for your friends.
So, grab your yarn and hook and make your own bunch of Hanami dangos! Have a beautiful springtime everyone!


Materials:

  • yarn: pink (COLOR A), beige (COLOR B), mint (COLOR C) and sand (COLOR D) (I used Wolle Rödel Mille Fili Color-No. rosa 5910, natur 5952, lind 5988 and sand 5991)
  • 4.00 mm crochet hook
  • fiberfill
  • plastic safety eyes, 6 mm
  • wool or tapestry needle
  • optional: stitch marker (you can use a bobby pin as a stitch marker, too!)

Stitch explanations and abbreviations:
ch chain foll following
sc single crochet rem remain(s)(ing)
st stitch rnd round
sl st slip stitch rep repeat
inc sc 2 in 1 sc * repeat from
dec sc 2 stitches togehter (X sc) number of single crochet in a round


Instruction for Hanami Dango: Work in continuous rounds.
Beg: Begin with COLOR A. Start with a magic ring, ch 1.
Rnd 1: Work 6 sc in magic ring. Place stitch marker in first sc from beg of rnd, move marker up as each rnd is completed. (6 sc)
Rnd 2: Inc in each 6 sc around. (12 sc)
Rnd 3: Work *1 sc in next sc, then inc. Rep from *5 more times around. (18 sc)
Rnd 4: Work *2 sc in next sc, then inc. Rep from *5 more times around. (24 sc)
Rnd 5-7: Work 1 sc in each 24 sc around. (24 sc)
Rnd 8: Work *2 sc in next sc, then dec. Rep from *5 more times around. (18 sc)
Start stuffing.
Rnd 9: Work *1 sc in next sc, then dec. Rep from *5 more times around. (12 sc) Change to COLOR B.
Rnd 10: Work *1 sc in next sc, then inc. Rep from *5 more times around. (18 sc)
Rnd 11: Work *2 sc in next sc, then inc. Rep from *5 more times around. (24 sc)
Rnd 12-14: Work 1 sc in each 24 sc around. (24 sc) 
Place safety eyes between rnd 12/13. Place first eye wherever you like, second eye 5 stitches apart
Rnd 15: Work *2 sc in next sc, then dec. Rep from *5 more times around. (18 sc)
Rnd 16: Work *1 sc in next sc, then dec. Rep from *5 more times around. (12 sc) Change to COLOR C.
Rnd 17: Work *1 sc in next sc, then inc. Rep from *5 more times around. (18 sc)
Rnd 18: Work *2 sc in next sc, then inc. Rep from *5 more times around. (24 sc)
Rnd 19-21: Work 1 sc in each 24 sc around. (24 sc)
Rnd 22: Work *2 sc in next sc, then dec. Rep from *5 more times around. (18 sc)
Rnd 23: Work *1 sc in next sc, then dec. Rep from *5 more times around. (12 sc) 
Rnd 24: Work *1 sc in next sc, then dec. Rep from *3 more times around. (8sc) Change to COLOR D.
Rnd 25-36: Work 1 sc in each 8 sc around. (8 sc)
Rnd 37: Dec in each 4 scs around. (4 sc)
End: Fasten off.


Finishing
1. Embroider mouth between the eyes. 
2. If you like apply cheeks with a Q‐tip and powdered blush just below the eyes on each side.


***This is an original pattern by ©nanaliciouz.com, 2013. All rights reserved. Please do not claim this pattern as your own. You may not in any form distribute or reproduce this pattern including images. You may keep a copy for your personal use only. Do not sell pattern and/or finished products made from this pattern without first obtaining permission from me.***
 

Nanaliciouz Template by Ipietoon Blogger Template | Gadget Review